We wanted to create a build with our newest product, our bell shape flat stock metal legs. We wanted to use our 16" x 16" legs, and settled on building a bench.
Step 1: Sourcing the wood
We visited a few local lumberyards, and found a beauty at Martin Lumber in Everett, WA. We came across a beautiful slab of raw white oak and knew it was perfect for a bench featuring our bell shape metal legs. The oak slab, at 72” x 14” x 2”, had the ideal dimensions to balance out the sturdy look of our 16” bell shape legs.
Step 2: Prep the wood slab

The wood was untreated and required sanding and smoothing. We used an orbital sander (working our way from coarse to fine), followed by rounds of manual sanding until the wood was smooth and most importantly, splinter-free.
Step 3: Treating the wood with polyurethane

Next, we treated the oak using a water-based polyurethane to help protect the wood. We went with a water-based polyurethane for a couple of reasons:
- It applies clear (and odor-less), and we wanted to stay as true to the natural color of the white oak as we could. An oil-based polyurethane will tint the wood ever-so-slightly.
- It dries much faster than its oil-based cousin. We did three coats, waiting two hours between each layer.
Step 4: Finishing the polyurethane treatment

After the third and last layer of the polyurethane had dried, we went over the oak a final time with sandpaper, to buff out any remaining inconsistencies.
Step 5: Determine leg placement

The placement of the metal table legs is important because if you put them too close to each other, any unbalanced weight distribution may cause a seesaw situation. We weren’t terribly concerned with the legs being too far apart - the oak was 2” thick, so unless you’re really going to town on it, the wood’s integrity should be fine. In the end, we decided to place the bell shape metal legs 7” from the edge. Also, you may want to consider furniture pad adhesives to the bottom of the metal legs, especially if you’ll be placing in on hardwood.
Step 6: Select appropriate hardware

At this point, we could have just drilled the bell shape legs directly into the wood, but because we’re overachievers, we decided to use threaded inserts. Threaded inserts are great because not only do they help keep the structural integrity of the wood, they also allow you to switch out the bolts for any reason in the future. We used 1” long hex bolts that were 1/4” in diameter.
Step 7: Measure twice, drill once

Drill, baby, drill. The blue tape was to our "DIY solution" to help gauge the correct depth.
Step 8: Securing the fasteners

Although epoxy is recommended for the threaded inserts in the wood, we used a little wood glue instead. No need to fill the hole with it, just a smidge will do.
Step 9: Fastening the fasteners

The threaded inserts were drilled in first.
Step 10: Bolt on the bell shape legs!

Then we brought back the metal table legs and lined up the hex bolts for drilling.

We secured the bolts first with a cordless drill. We then hand torqued the bolts to ensure maximum security (without overtorqueing!)
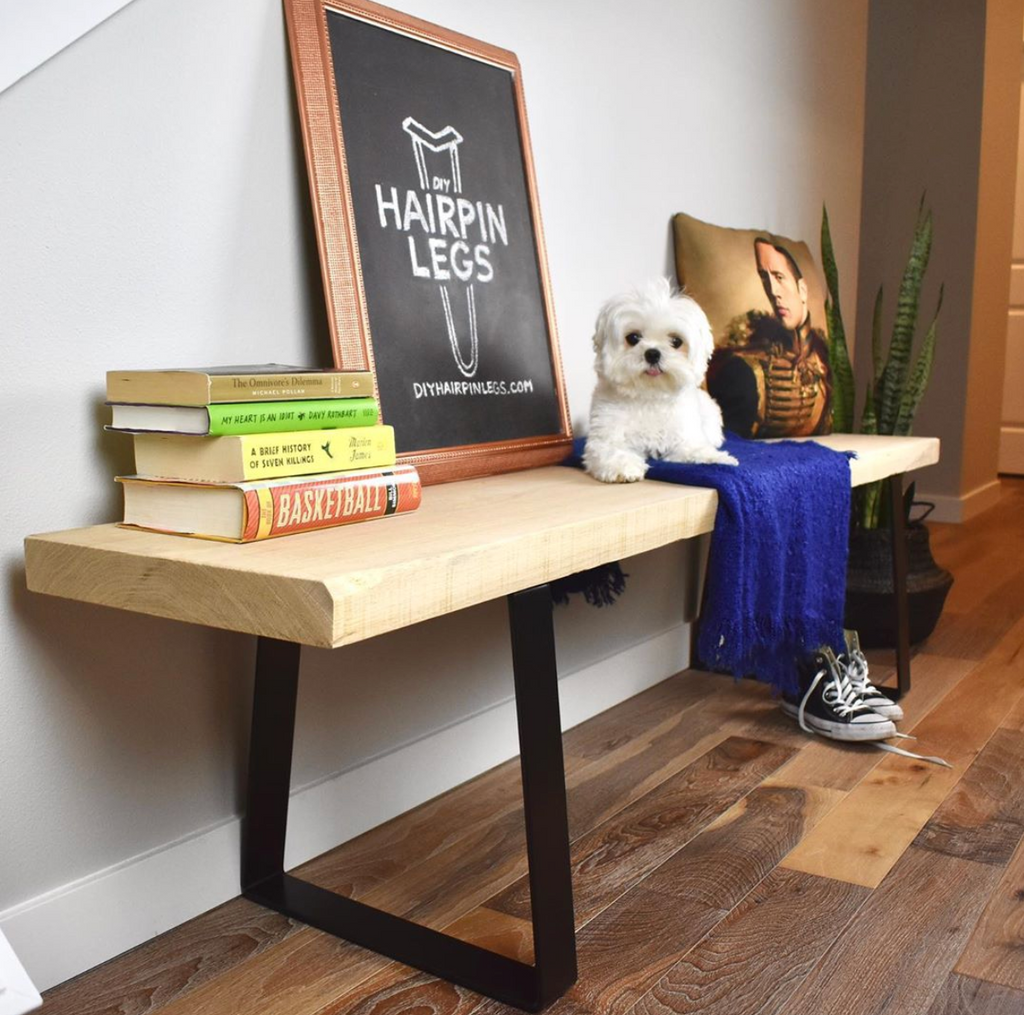
Step 11: Enjoying our new bench!

Ta-da! Because of the natural industrial appearance the bell shape metal legs (in jet black satin in case it's unclear), the white oak brought in a much needed softness and balance to the bench. And because of the dimensions of the wood - particularly the thickness - the bench doesn’t look top or bottom heavy. We sat three adults on it comfortably, with no bounce or shakiness.
Even with a little prep work, the assembly was pretty straight-forward as far as DIY projects go. This bench could be part of a bigger dining table set, or a stand alone for a hallway, entrance, or mudroom.